Lesson-246

Translation made by MARION
Supplies
Material

Filters
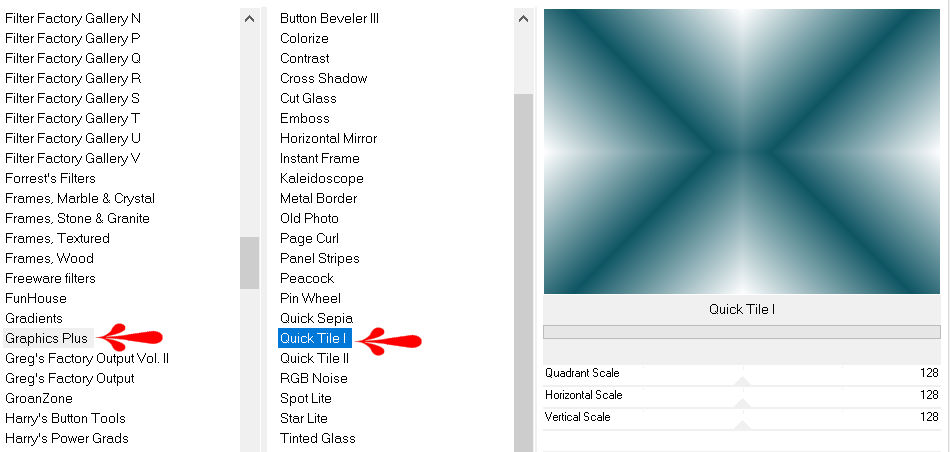
Effects-Plugins---<I C Net Software> Filters Unlimited 2.0---Graphics Plus--- Quick Tile-1
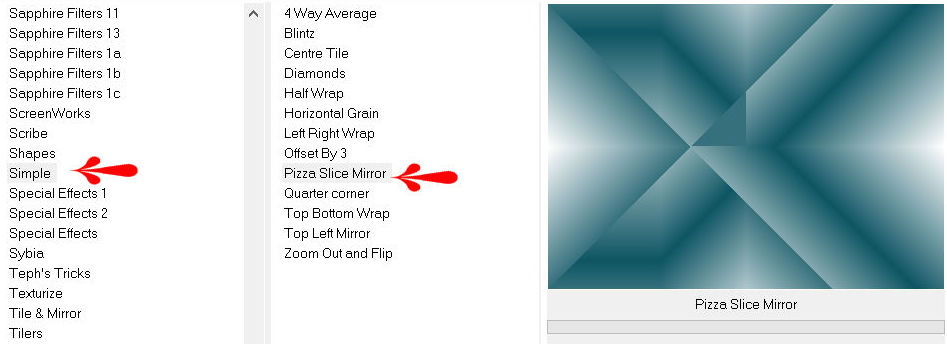
Effects-Plugins--<I C Net Software> Filters Unlimited 2.0>---Simple---Pizza Slice Mirror
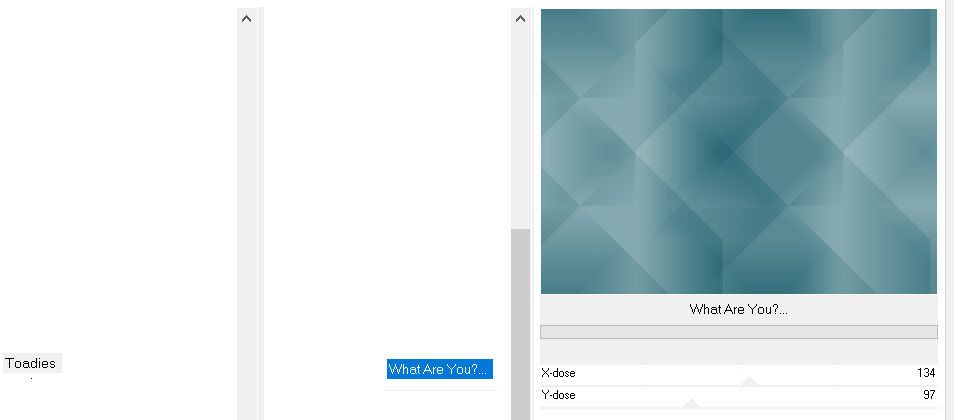
Effects--Plugins---<I C Net Software> Filters Unlimited 2.0>---Toadies---What Are You
Effects—Plugins - AP 01 (Innovations)-Lines-SilverLining---Dotty Grid
Effects-Plugins---AAA Frames---Foto Frame
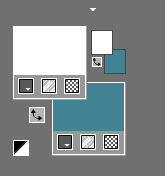
Material Properties: Set your foreground color to color ---#ffffff---Set your background color to color #428392
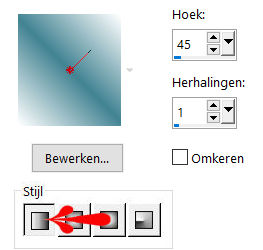
Set your Foregroundcolor to foreground---background linear gradient with these settings:---Angle 45---Repeats 1
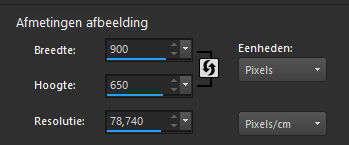
File-Open a new transparent Image 900/ 650 PX
 Gebruik de aanwijzer om aan te geven waar je bent gebleven.
1.
Flood Fill Tool --- fill the layer with the gradient
2.
Effects---PluginsI C Net Software> Filters Unlimited 2.0---Graphics Plus--- Quick Tile-1
3.
Effects---Plugins---<I C Net Software> Filters Unlimited 2.0>---Simple---Pizza Slice Mirror
4.
Effects---Plugins---<I C Net Software> Filters Unlimited 2.0>---Toadies---What Are You---134---97.---Apply
5.
Effects---Edge Effects---Enhance More.
6.
Selections ---load/save selection ---load selection from disc and select my selection:--- mb-1-246.PspSelection
7.
Selections---Promote selection to layer
8.
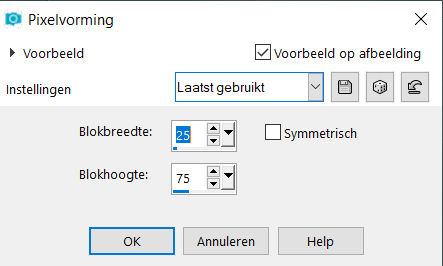
Effects---Distortion Effects---Pixelate with these settings:---25---75 Symmetric not checked
9.
Adjust---Sharpness---Sharpen More
10.
Selections---Deselect All.
11.
Effects---3D-Effects--- Drop Shadow with these settings:
0---0---45--30. Color Black

12.
Activate the bottom of the layer-palette (Raster 1)
13.
Selections ---load/save selection ---load selection from disc and select my selection: mb-2-246.PspSelection
14.
Selections- Promote selection to layer
15.
Effects---Distortion Effects---Pixelate with these settings:---25-75- Symmetric not checked
16.
Adjust---Sharpness---Sharpen More
17.
Selections--- Deselect All
18.
Effects---3D-Effects--- Drop Shadow with these settings: 0---0---45---30. Color Black
19.
Activate the bottom of the layer-palette (Raster 1)
Selections ---load/save selection ---load selection from disc and select my selection: mb-3-246.PspSelection
Selections---Promote selection to layer
20.
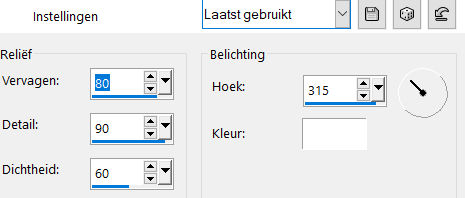
Effects---Artistic Effects---Enamel with these settings:---80---90---60---315---color white
21.
Selections- Deselect All
22.
Effects---3D-Effects--- Drop Shadow with these settings: 0---0---45---30. Color Black
23.
Layers---Arrange---Bring to Top
24.
Activate the bottom of the layer---palette (Raster 1)
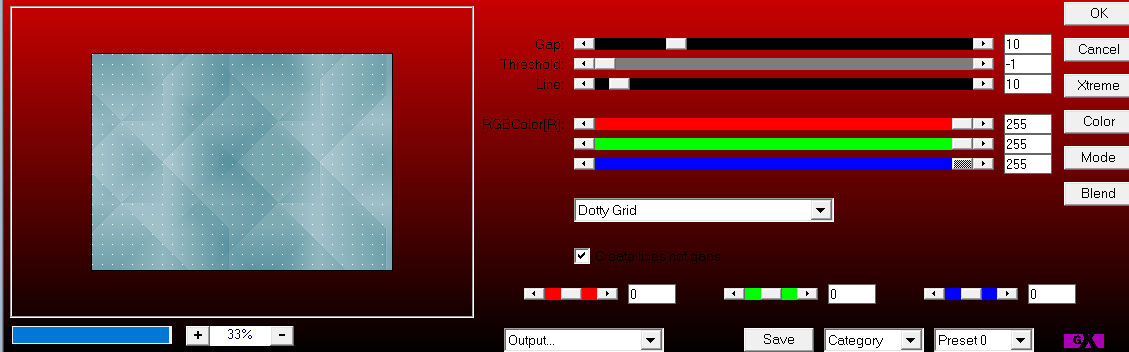
Effects- Plugins--- AP 01 (Innovations)-Lines-SilverLining---Dotty Grid---10---min1---10---255---255---255
25.
Layers- New Raster Layer
Layers---Arrange---Bring to Top
26.
Flood Fill Tool: fill the layer with color #fffff
27.
Open--- Mask---Benice BG L116.jpg
Click on the minus sign at the top right
Layers---New Mask Layer ---From Image---select--- Benice BG L116.jpg
Source luminance Checked ---Invert Mask data checked !!!

Layers---Merge---Merge- Group.
28.
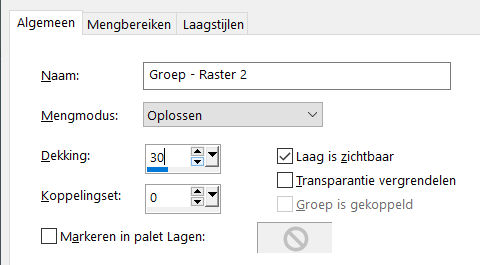
Layers-Properties---Change the Blend Mode to "Dissolve “---Lower the Opacity to 30
29.
Open---the tube--- Alexine-deco-01.png
Edit---Copy
Activate your work ---Edit --- Paste as a new layer
Pick Tool: (K) on your keyboard ---Enter these parameters--- Position X 33---Position Y 67 on the toolbar

30.
Open –the tube--- deco-2-1-246..png
Edit---Copy
Activate your work ---Edit --- Paste as a new layer
Pick Tool: (K) on your keyboard ---Enter these parameters--- Position X 612---Position Y min 14
31.
Press ( M ) to close the Pick Tool
32.
Edit---Copy ---Special---Copy Merged
Activate your work -Edit --- Paste as a New Image
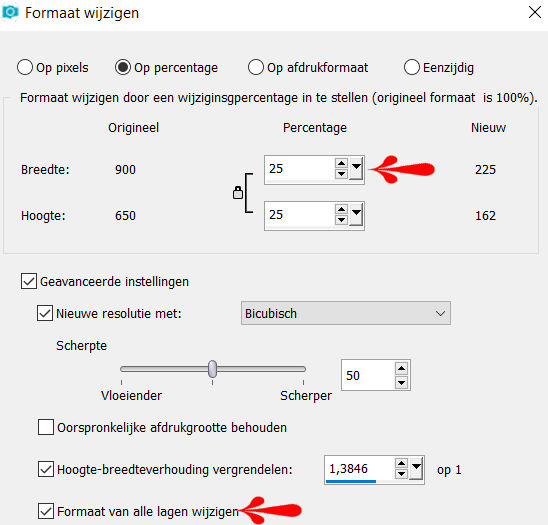
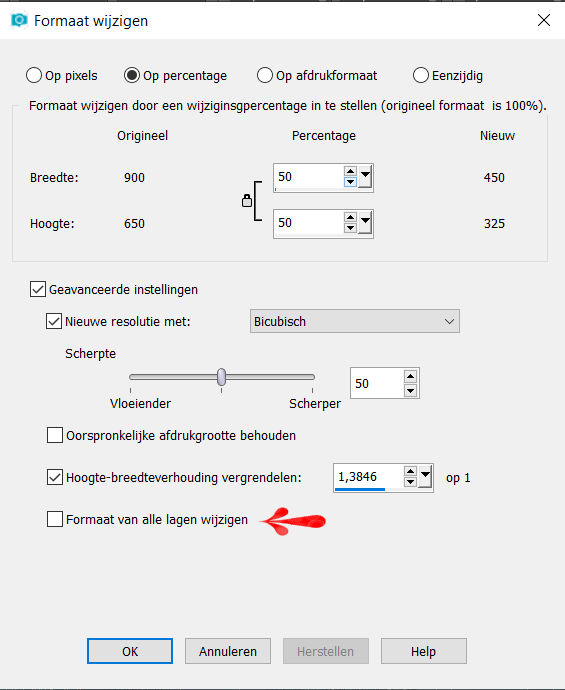
Image---Resize with 25%.---Resize all layers checked !!!!
33.
Image - Add borders-Symmetric checked ---1 pixel ---color black #000000
Image - Add borders-Symmetric checked ---10 pixels---color white #ffffff
34.
Edit---Copy
Activate your work ---Edit --- Paste as a new layer
35.
Pick Tool: (K) on your keyboard ---Enter these parameters --- Position X 508---Position Y 253 on the toolbar

36.
Effects-3 D Effects--- Drop Shadow with these settings : 0---0---45---30. Color Black.
37.
Layers- Duplicate
38.
Image---Resize with 50% ---Resize all layers Not checked
39.
Pick Tool: (K) on your keyboard -Enter these parameters---Position X 140---Position Y 28 on the toolbar

40.
Layers- Duplicate.
41.
Pick Tool: (K) on your keyboard -Enter these parameters---Position X 140---Position Y 451 on the toolbar

42.
Layers---Merge---Merge All(flatten)
43.
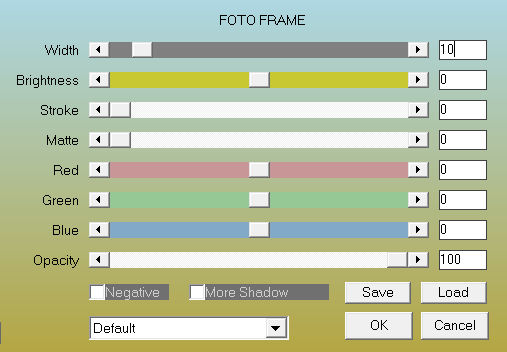
Effects---Plugins---AAA Frames---Foto Frame---10
44.
Edit-Copy
45.
Selections---Select All
46.
Image - Add borders---Symmetric checked ---50 pixels---color white #ffffff
Selections----Invert
Edit-Paste into Selection
Adjust---Blur---Gaussian Blur--Radius-30.
Effects--- Artistic Effects --- Enamel with these settings:---80---90---60---315---color white.
Selections -Deselect All.
47.
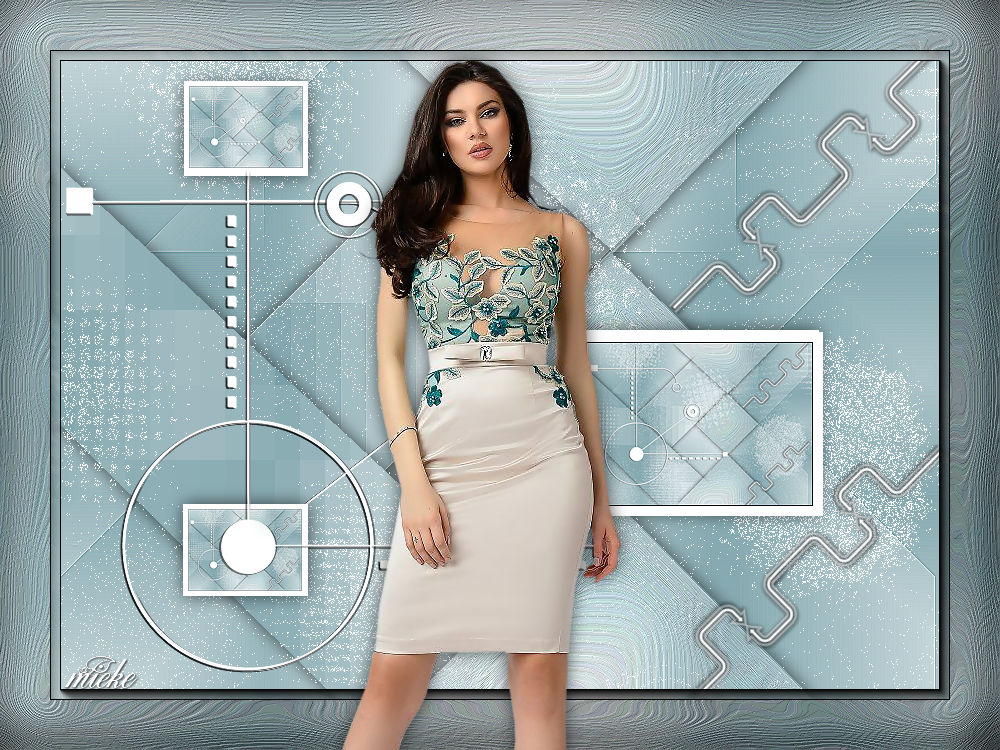
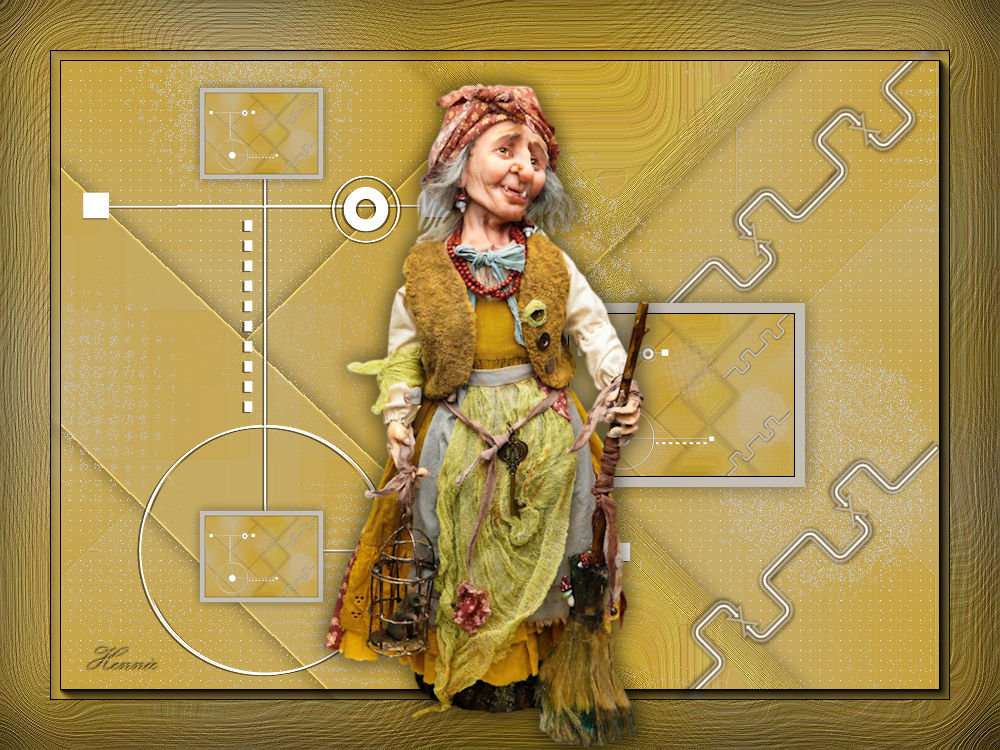
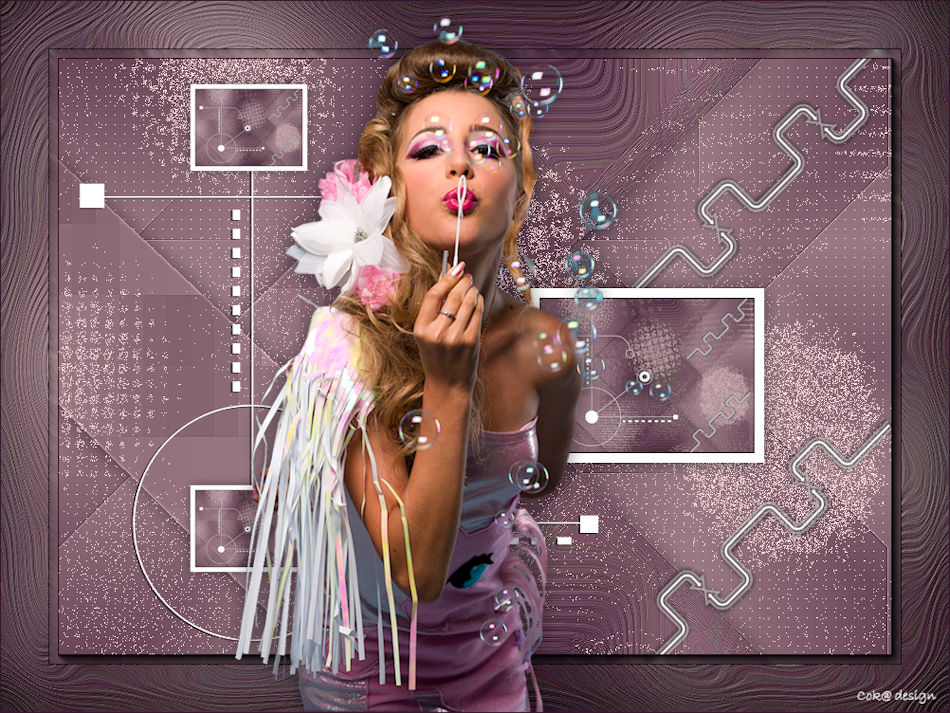
Open-the--Tube--- Woman790_byEClo.png
Edit-Copy
Activate your work ---Edit --- Paste as a new layer
Put your tube in a nice place.
48.
Effects-3 D Effects---Drop Shadow with these settings : 0---0---44---30. Color Black.
49.
Image - Add borders-Symmetric checked 1 pixel color black #000000
Add you watermark on new layer
Save as JPG.
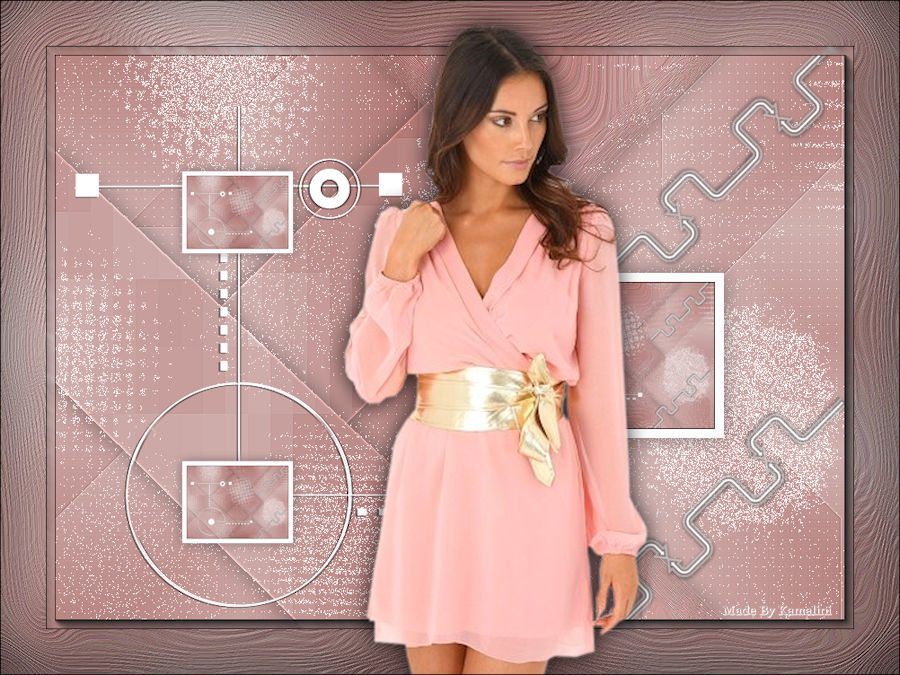
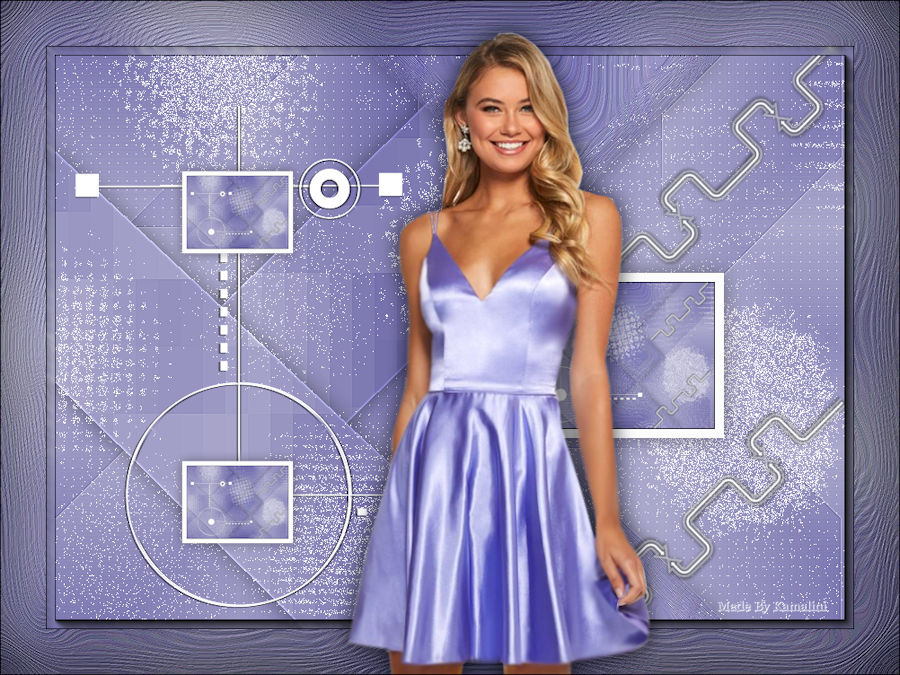
Voorbeelden gemaakt door Kamalini. Hennie, Corrie.
Dank voor het controleren van de les.

|